There are many reasons to record your screen, whether you're using a Windows PC, Mac, phone or tablet - you might be recording a YouTube video, composing a software tutorial or preparing a presentation for work.
You can start by reaching for a free screen recorder, and there are some excellent options around, but you may not realize that Windows already has its own built-in recording tool, hidden in the pre-installed Xbox app.
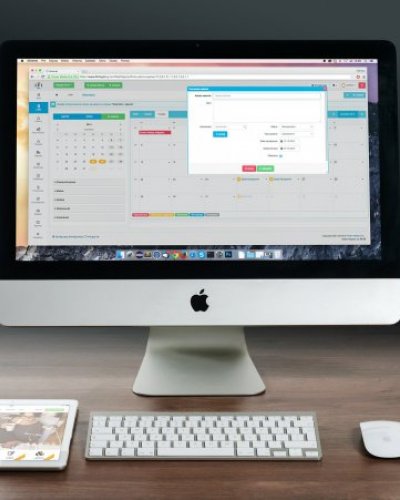
You can also record your screen from within the browser window, without having to download and install a big program. It all depends on what you're recording, what hardware you're using, and how much time you have available.
When you're done, you can share the recording as-is or make a few tweaks with a free video editor - trim the clip to length, add titles, or record a voiceover.
How to record your screen in Windows
It's well hidden, but Windows 10 has its own built-in screen recorder for recording games. To find it, open the pre-installed Xbox app (type Xbox in the search box to find it), then tap [Windows]+[G] on your keyboard and click "Yes, this is a game".
Click "Start recording" or tap [Windows]+[Alt]+[R] to start, then use the same shortcut when you're done. The recorded videos will be saved in Videos/Capture folder in MP4 format.
To customize the DVR settings, log into the Xbox app and access the Game DVR options. You can't choose a different destination folder for your recordings, but you can select a quality setting, decide whether or not you want to record audio, and set a maximum clip length.
Unfortunately, not all Windows 10 devices can record footage with Game Bar. To use it, you'll need a graphics card that supports one of the following encoders:
- Intel Quick Sync H.260
- Nvidia NVENC
- AMD VCE
If your desktop or laptop doesn't qualify, check out our selection of the best free screen recorders for more options.
How to record your screen on a Mac
Recording your Mac screen is much easier than WIndows PC. If you're using macOS Mojave, just press the keyboard shortcut Shift+⌘+5 and all the controls for capturing video and still images from your desktop will appear. You can record an entire screen, a section, or a specific window, and then trim, save, or share the resulting footage.
If you're using an older version of macOS, you can record your screen with Quicktime Player. Just open the app (which is installed by default)
How to record your screen on Android
Android 10 has its own screen recorder, which you can find by opening the "Settings" menu and selecting "About Phone." Tap the version number seven times, then enter your unlock credentials when prompted. This will put the phone in developer mode, allowing you to test features that aren't quite ready yet.
Go back to the system settings, tap on "Developer Options" and select "Feature Flags". Locate the "settings_screenrecord_long_press" flag and toggle the switch to activate it. You can now record your screen at any time by pressing the power button to bring up the power options menu, and then holding down the screenshot button until the screen recording options appear.
If you're using Android Pie or earlier, you'll need a third-party screen recorder from the Google Play Store. Such apps are very popular, so there's no shortage of shoddily made or downright malicious ones available.
If you want to record game footage, Google Play Games has a built-in screen recorder that will automatically start recording footage when you launch the game. For everything else, we recommend AZ Screen Recorder. It's easy to use and packed with useful features. The free version is excellent, but additional options are available for a small fee.
How to record your iPhone or iPad screen
Recording your iPhone or iPad screen is similarly simple. Tap "Settings," then "Control Center" and "Customize Controls," then tap the green plus icon next to "Screen Recording."
Load the app you want to record, then swipe up from the bottom of the screen (or down from the top right if you're using an iPhone X or later, or an iPad running iOS 12 or iPadOS. Tap the "Record" button (the dot in the circle), and a three-second countdown will begin. When it ends, recording will begin.
To stop recording, tap the time indicator at the top left of the screen and select "Stop". Note that any notifications you receive while recording will also be captured.


Comments (0)